 8
8AgentBoard: AI Agent Visualization Toolkit for Agent Loop Workflow RAG Tool Use Functions Callings and Multi Modal Data Visualization
Introduction
In this blog, we will give you a brief introduction to AgentBoard, an open source AI agent visualization toolkit which can be used the same way as Tensorboard, which helps visaulize Tensors data during model training. AgentBoard aims to visualize key elements and information of AI Agents running loops in development and production stages of real-world scenarios. It provides easy logging APIs in python and can help log multiple data types such as text (prompt), tools use (function calling of LLM API), image, audio and video. With organized logging schemas, agentboard will visualize the agent-loop (OBSERVE -> PLAN -> ACT -> REFLECT -> REACT etc ), RAG (Retrieval Augumented Generation), Autonomous Agents running, Multi-Agents orchestration, etc. The rest of the blog will cover the basic data types usage, visualization of Agent Loop, Chat History, Tool Use, Functions Calling, RAG, etc.
- Github agentboard: https://github.com/AI-Hub-Admin/agentboard
- Pypi agentboard: https://pypi.org/project/agentboard
Table of Contents
- 1. APIs to Visualize Multi Modal Data
- 2. Agent Loop Visualization
- 3. Chat Visualizer and Memory Visualization
- 4. Tool Use Function Calling Visualization
- 5. RAG Visualization
1. AgentBoard APIs to Visualize Multi Modal Data
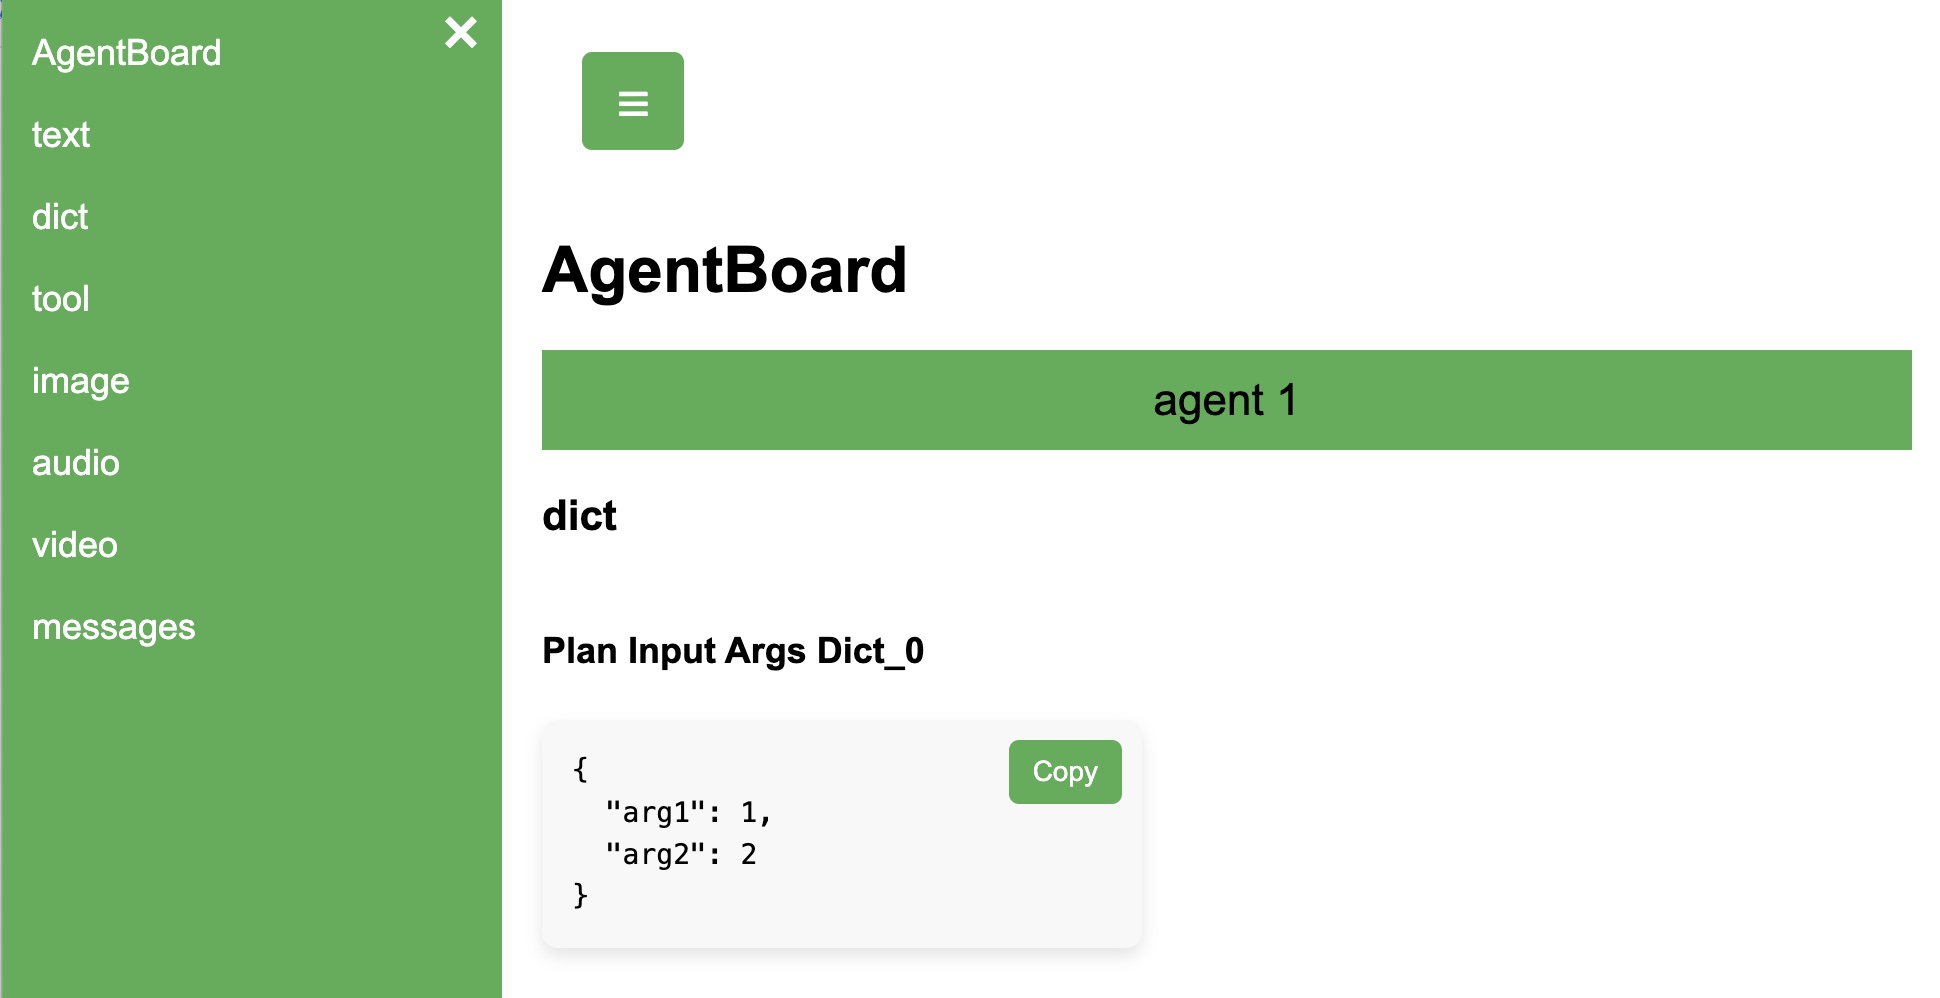
During AI Agent running loop, a typical scenario for an AI Agent is to fullfill a specific task with multi-modal user input and the agent will call LLMs multiple times and gives response also in multi-modal formats. For example, the user will ask an Agent to plot stock price of Tesla in text prompt and the AI Agent will calling financial APIs and respond in an image of stock price changes. AgentBoard provides similiar APIs to Tensorboard to log text, image, audio, video tensor datas. For exmaple, you can import agentboard package and use "ab.summary.text", "ab.summary.dict", "ab.summary.image", "ab.summary.audio" and "ab.summary.video" APIs to write the data to a log directory and the image/audio/video files to a static folder. And the agentboard will capture and display the data on the web console.
Functions of Supported Data Type List
| Functions | DataType | Description |
|---|---|---|
| ab.summary.text | str | Text data, such as prompt, assistant responded text |
| ab.summary.dict | dict | Dict data, such as input request, output response, class __dict__ |
| ab.summary.image | tensor | Support both torch.Tensor and tf.Tensor, torch.Tensor takes input shape [N, C, H, W], N: Batch Size, C: Channels, H: Height, W: Width; tf.Tensor, input shape [N, H, W, C], N: Batch Size, H: Height, W: Width, C: Channels. |
| ab.summary.audio | tensor | Support torch.Tensor data type. The input tensor shape [B, C, N], B for batch size, C for channel, N for samples. |
| ab.summary.video | tensor | Support torch.Tensor data type. The input tensor shape should match [T, H, W, C], T: Number of frames, H: Height, W: Width, C: Number of channels (usually 3 for RGB) |
The logging function is ab.summary.audio() and the key arguments for input tensors can be found in docs
https://github.com/AI-Hub-Admin/agentboard/blob/main/docs/agentboard_docs.md1.1 Audio Tensor Data Log and Display Using AgentBoard API
During AI Agent Running, Let's say we got an users voice input of an ASR module. The audio is using pytorch tensor format, we start logging the audio data using an with block defining the logdir and static file directory. Then we can ab.summary.audio to log the Audio data to local files and monitor the input and output of the ASR agent.
with ab.summary.FileWriter(logdir="./log", static="./static") as writer:


	ab.summary.audio(name="ASR Input Audio", data=waveform, agent_name="agent 1", process_id="asr")
We are using a demo of random pytorch tensor of audio with 2 channels, 16000 sample_rate lasting for 2 seconds.
import torch
import agentboard as ab
import math

with ab.summary.FileWriter(logdir="./log", static="./static") as writer:
    sample_rate = 16000  # 16 kHz
    duration_seconds = 2  # 2 seconds
    frequency = 440.0  # 440 Hz (A4 note)
    t = torch.linspace(0, duration_seconds, int(sample_rate * duration_seconds), dtype=torch.float32)
    waveform = (0.5 * torch.sin(2 * math.pi * frequency * t)).unsqueeze(0)  # Add channel dimension
    waveform = torch.unsqueeze(waveform, dim=0)
    ab.summary.audio(name="ASR Input Audio", data=waveform, agent_name="agent 1", process_id="asr")
agentboard --logdir=./log --static=./static --port=5000
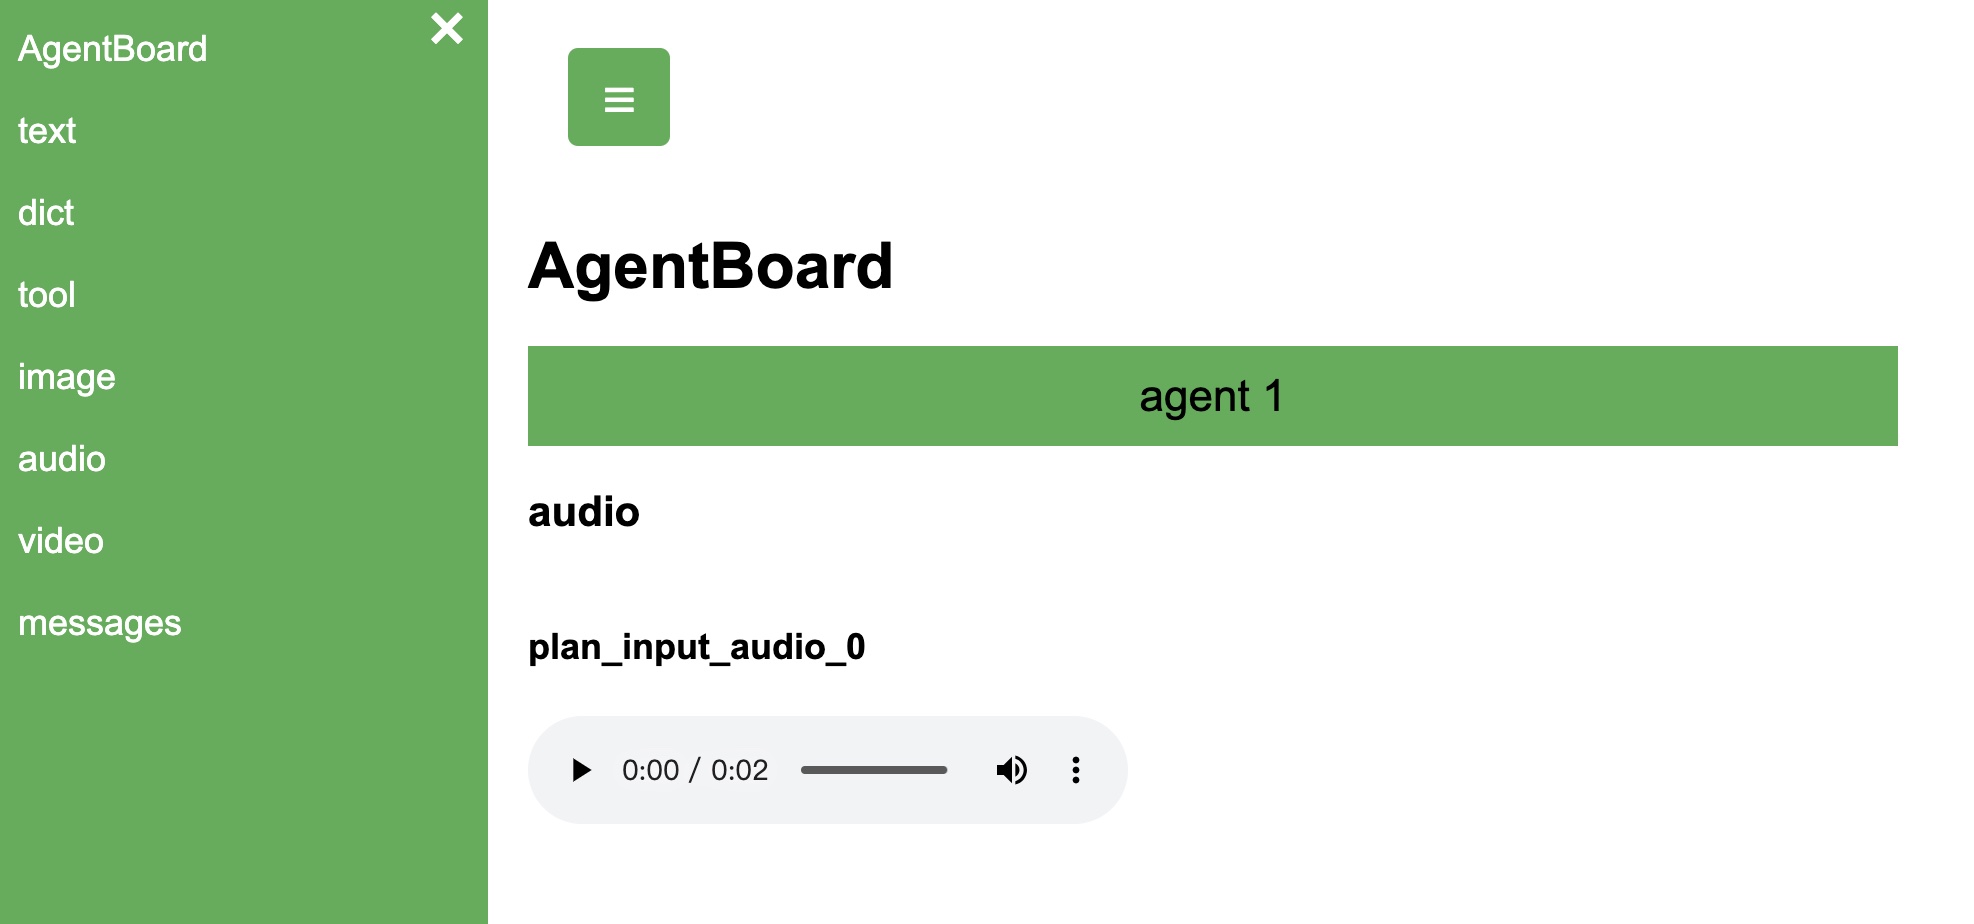
After Logging the Audio data, we can start the agentboard console pointing to the log folder and static file folder using command lines. And you can visit the browser at
http://127.0.0.1:5000/log/audioand you can see the generated audio widgets. Note that the logdir and static directory should match with the folder path in the python code for the web service to display correctly.
1.2 Video Tensor Data Log and Display Using AgentBoard API
Let's use another text2video video generation AI Agent example. Let's start with a random pytorch tensor of video clip with 30 frames, 64x64 resolution, 3 color channels and use agentboard to visualize it.
import torch
import agentboard as ab

with ab.summary.FileWriter(logdir="./log", static="./static") as writer:
    T, H, W, C = 30, 64, 64, 3  # 30 frames, 64x64 resolution, 3 color channels
    video_tensor = torch.randint(0, 256, (T, H, W, C), dtype=torch.uint8)
    frame_rate = 24  # Frames per second
    ab.summary.video(name="Text2Video Output", data=video_tensor, agent_name="agent 1",
        process_id="act", file_ext = ".mp4", frame_rate = 24, video_codecs = "mpeg4")
We can visit the agentboard web console and see the logged video at
http://127.0.0.1:5000/log/video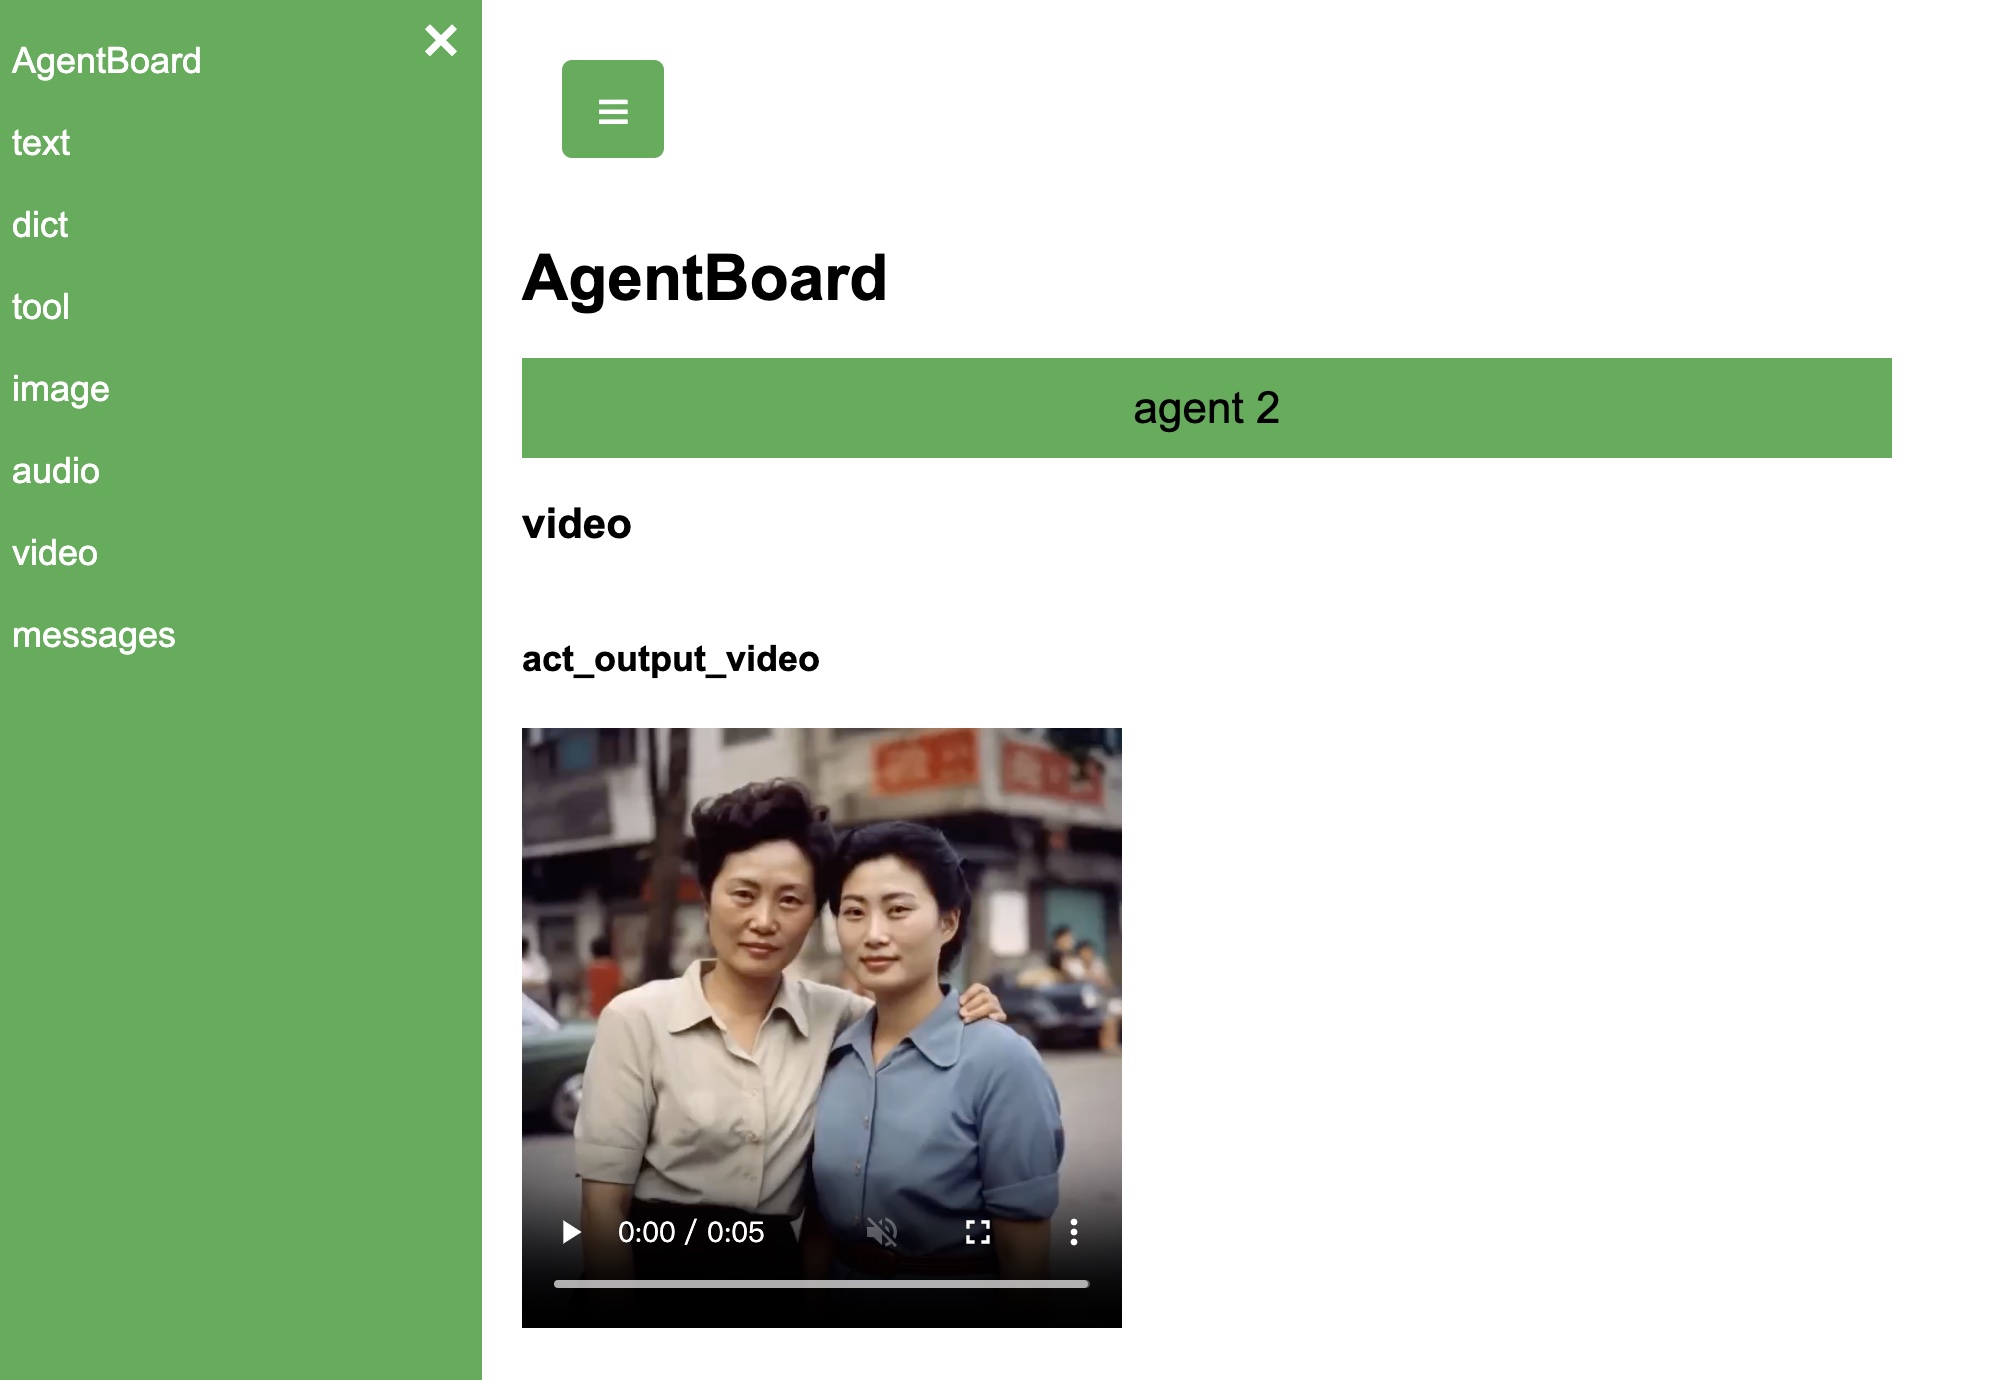
2. Agent Loop Visualization with AgentBoard
2.1 What is Agent Loop and Why Debugging Loop is difficult?
Agent Loops consists of multiple models of PLAN, ACT, REACT, REFLECTION and possible Tools Usage and Memmory Update. Different package will have different agent loop definition.
- GPTeam: GPTeam project defines an agent loop as: observe->plan->react->act->reflect. GPT Team Agent Loop
- AutoAgent: AutoAgentPackage is using a simplified agent loop consists of plan->act->reflect stages. AutoAgent AI Agent Loop python file
An AI Agent Loop usually consists of several stages, including:
- - OBSERVE: Observe the activities from the enviroments
- - PLAN: Making plans of what to do to finish the task
- - ACT: Take Specific Actions to fullful the tasks, such as calling an get_weather function, calling and LLM Chat API to generate response, perform an RAG and retrieval documents, etc.
- - REFLECT: Update memories and decide what to do, weather continue the agent loop of other things of CoT (Chain of Thought) or others.
The possible difficulties of developing AI Agent Loop include:
- - Multi-Agents Orchestration: Suppose you have more than 10 agents running at the same time and each are producing logs of input/ouput of different stages, developers will have difficulties identifing which step produces the wrong information and causes the loop to crashes or producting incorrect responses.
- - Asynchronous: AI agents will usually run asynchronously and AI Agent developers are using python package 'asyncio' and "async await" statement to wrap the actual python codes. The logging will be printing in a huge mess if not well organized.
2.2 Example of Asynchronous Autonomous Agents Running Loops Visualization
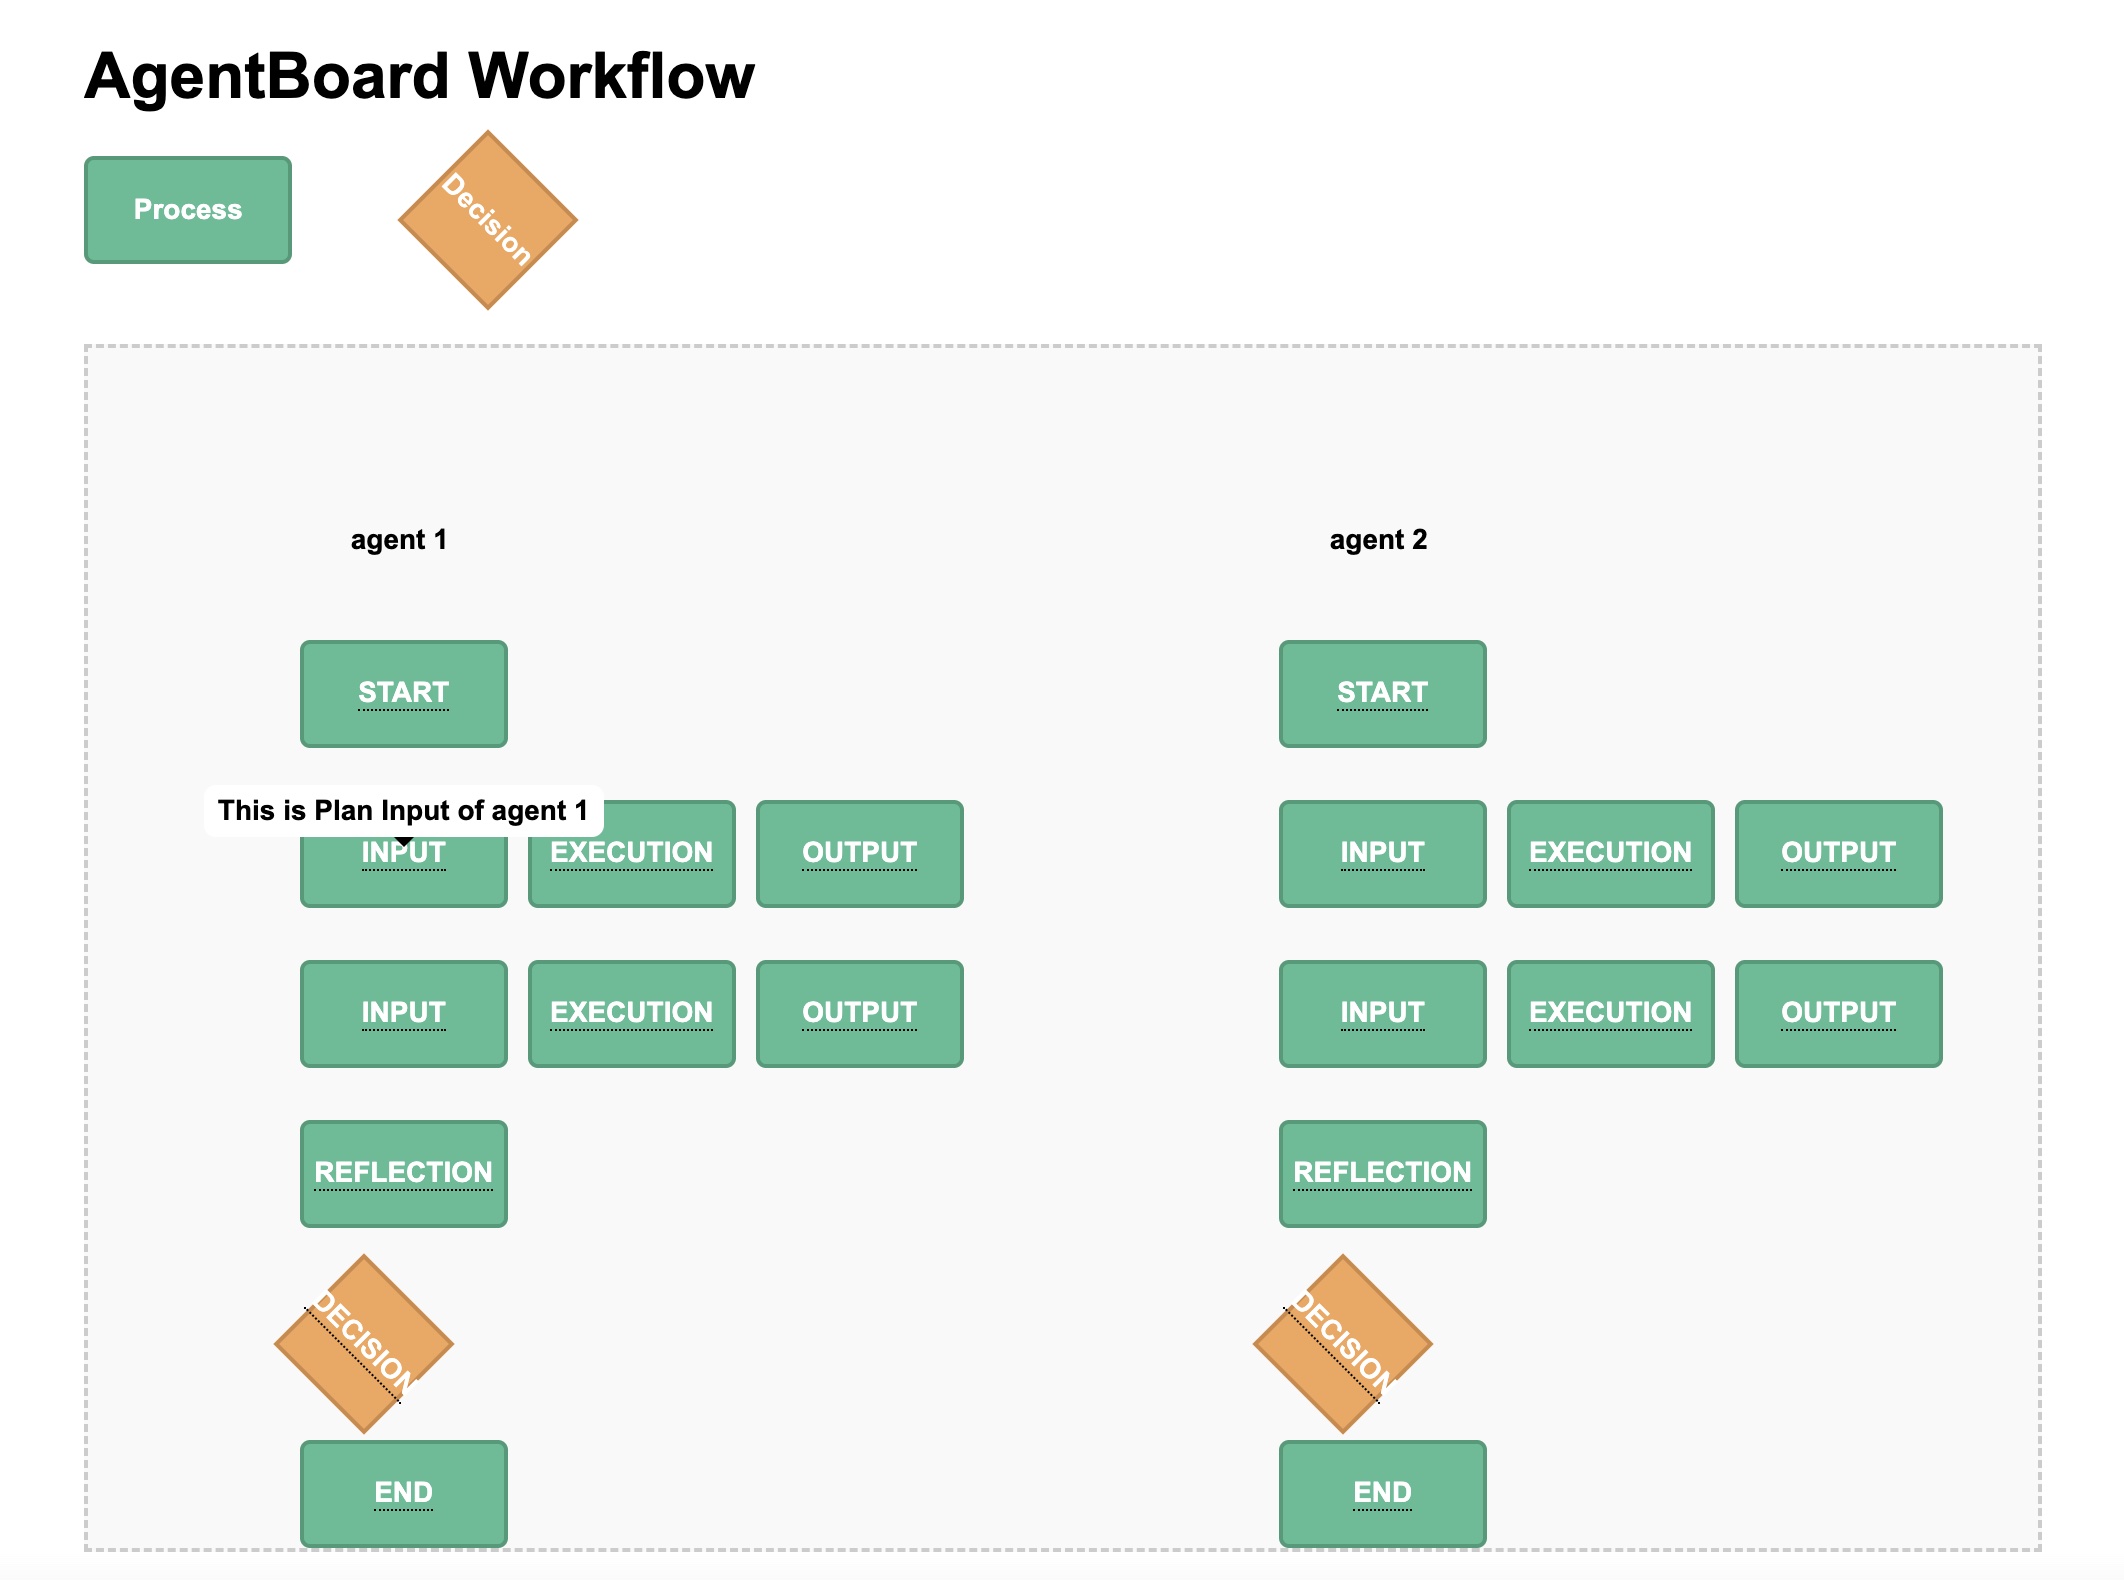
Let's start with an asynchronous enviroment agent loop of two autonomous AI agents. Each agent will go through PLAN/ACT/REFLECT/DECISON stages and sleep a few seconds. After the programs runs, we will visualze the agent loop in a workflow chart on agentboard. We are omitting some codes for clarity and you can run the full code example in here.
import time
import agentboard as ab
from agentboard.utils import function_to_schema
import time

from AutoAgent.core import AsyncAgent, AsyncAutoEnv
from AutoAgent.utils import get_current_datetime


class AutoAgentWorkflow(AsyncAgent):
    """
        Agent who can plan a day and write blog/posts videos on the website
        execute cycle: plan->act->reflect->decision
    """
    async def run_loop(self):

    		# Start Logging
    	    ab.summary.agent_loop(name="START", data="This is start stage of %s" % self.name, agent_name = self.name, process_id="START", duration = 0)

            ## Plan Stage
            # Plan input
            ab.summary.agent_loop(name="INPUT", data="This is Plan Input of %s" % self.name, agent_name = self.name, process_id="PLAN", duration = 0)

            plan_duration = await self.plan()

            ## Plan EXECUTION and we will log the actual sleep duration
            ab.summary.agent_loop(name="EXECUTION", data="This is Execution stage of %s" % self.name, agent_name = self.name, process_id="PLAN", duration = plan_duration)

            # Plan Output
            ab.summary.agent_loop(name="OUTPUT", data="This is Plan Output of %s" % self.name, agent_name = self.name, process_id="PLAN", duration = 0)
Running the Vanilla Agent
def run_async_agents_env_agentboard():
    """
        Step 1: Design your customized agents
        Step 1: Use AsyncAutoEnv to run agents in separate thread
    """
    with ab.summary.FileWriter(logdir="./log", static="./static") as writer:
        agent1_prompt = """You are playing the role of a Web admin agent... """
        agent2_prompt = """You are playing the role of a Automatic reply agent..."""

        agent_1 = AutoAgentWorkflow(name="agent 1", instructions=agent1_prompt)
        agent_2 = AutoAgentWorkflow(name="agent 2", instructions=agent2_prompt)

        agents = [agent_1, agent_2]
        env = AsyncAutoEnv(get_openai_client(), agents=agents)
        results = env.run()

if __name__ == "__main__":
    run_async_agents_env_agentboard()
After running the agents programs, logs will be printed to logdir and we can start the agentboard to visualze the running process of these two agents. You can visit below URL and see the workflow as below.
http://127.0.0.1:5000/log/agent_loop
3. Chat Visualizer and Memory Visualization
Many multi-agent conversation systems and frameworks will make requests to LLM APIs (OpenAI ChatGPT Complete/Anthropic Claude/etc) iteratively with user defined prompt and possible tools. In this example, we will show you how to use agentboard to visualize the multi agent chat programs.
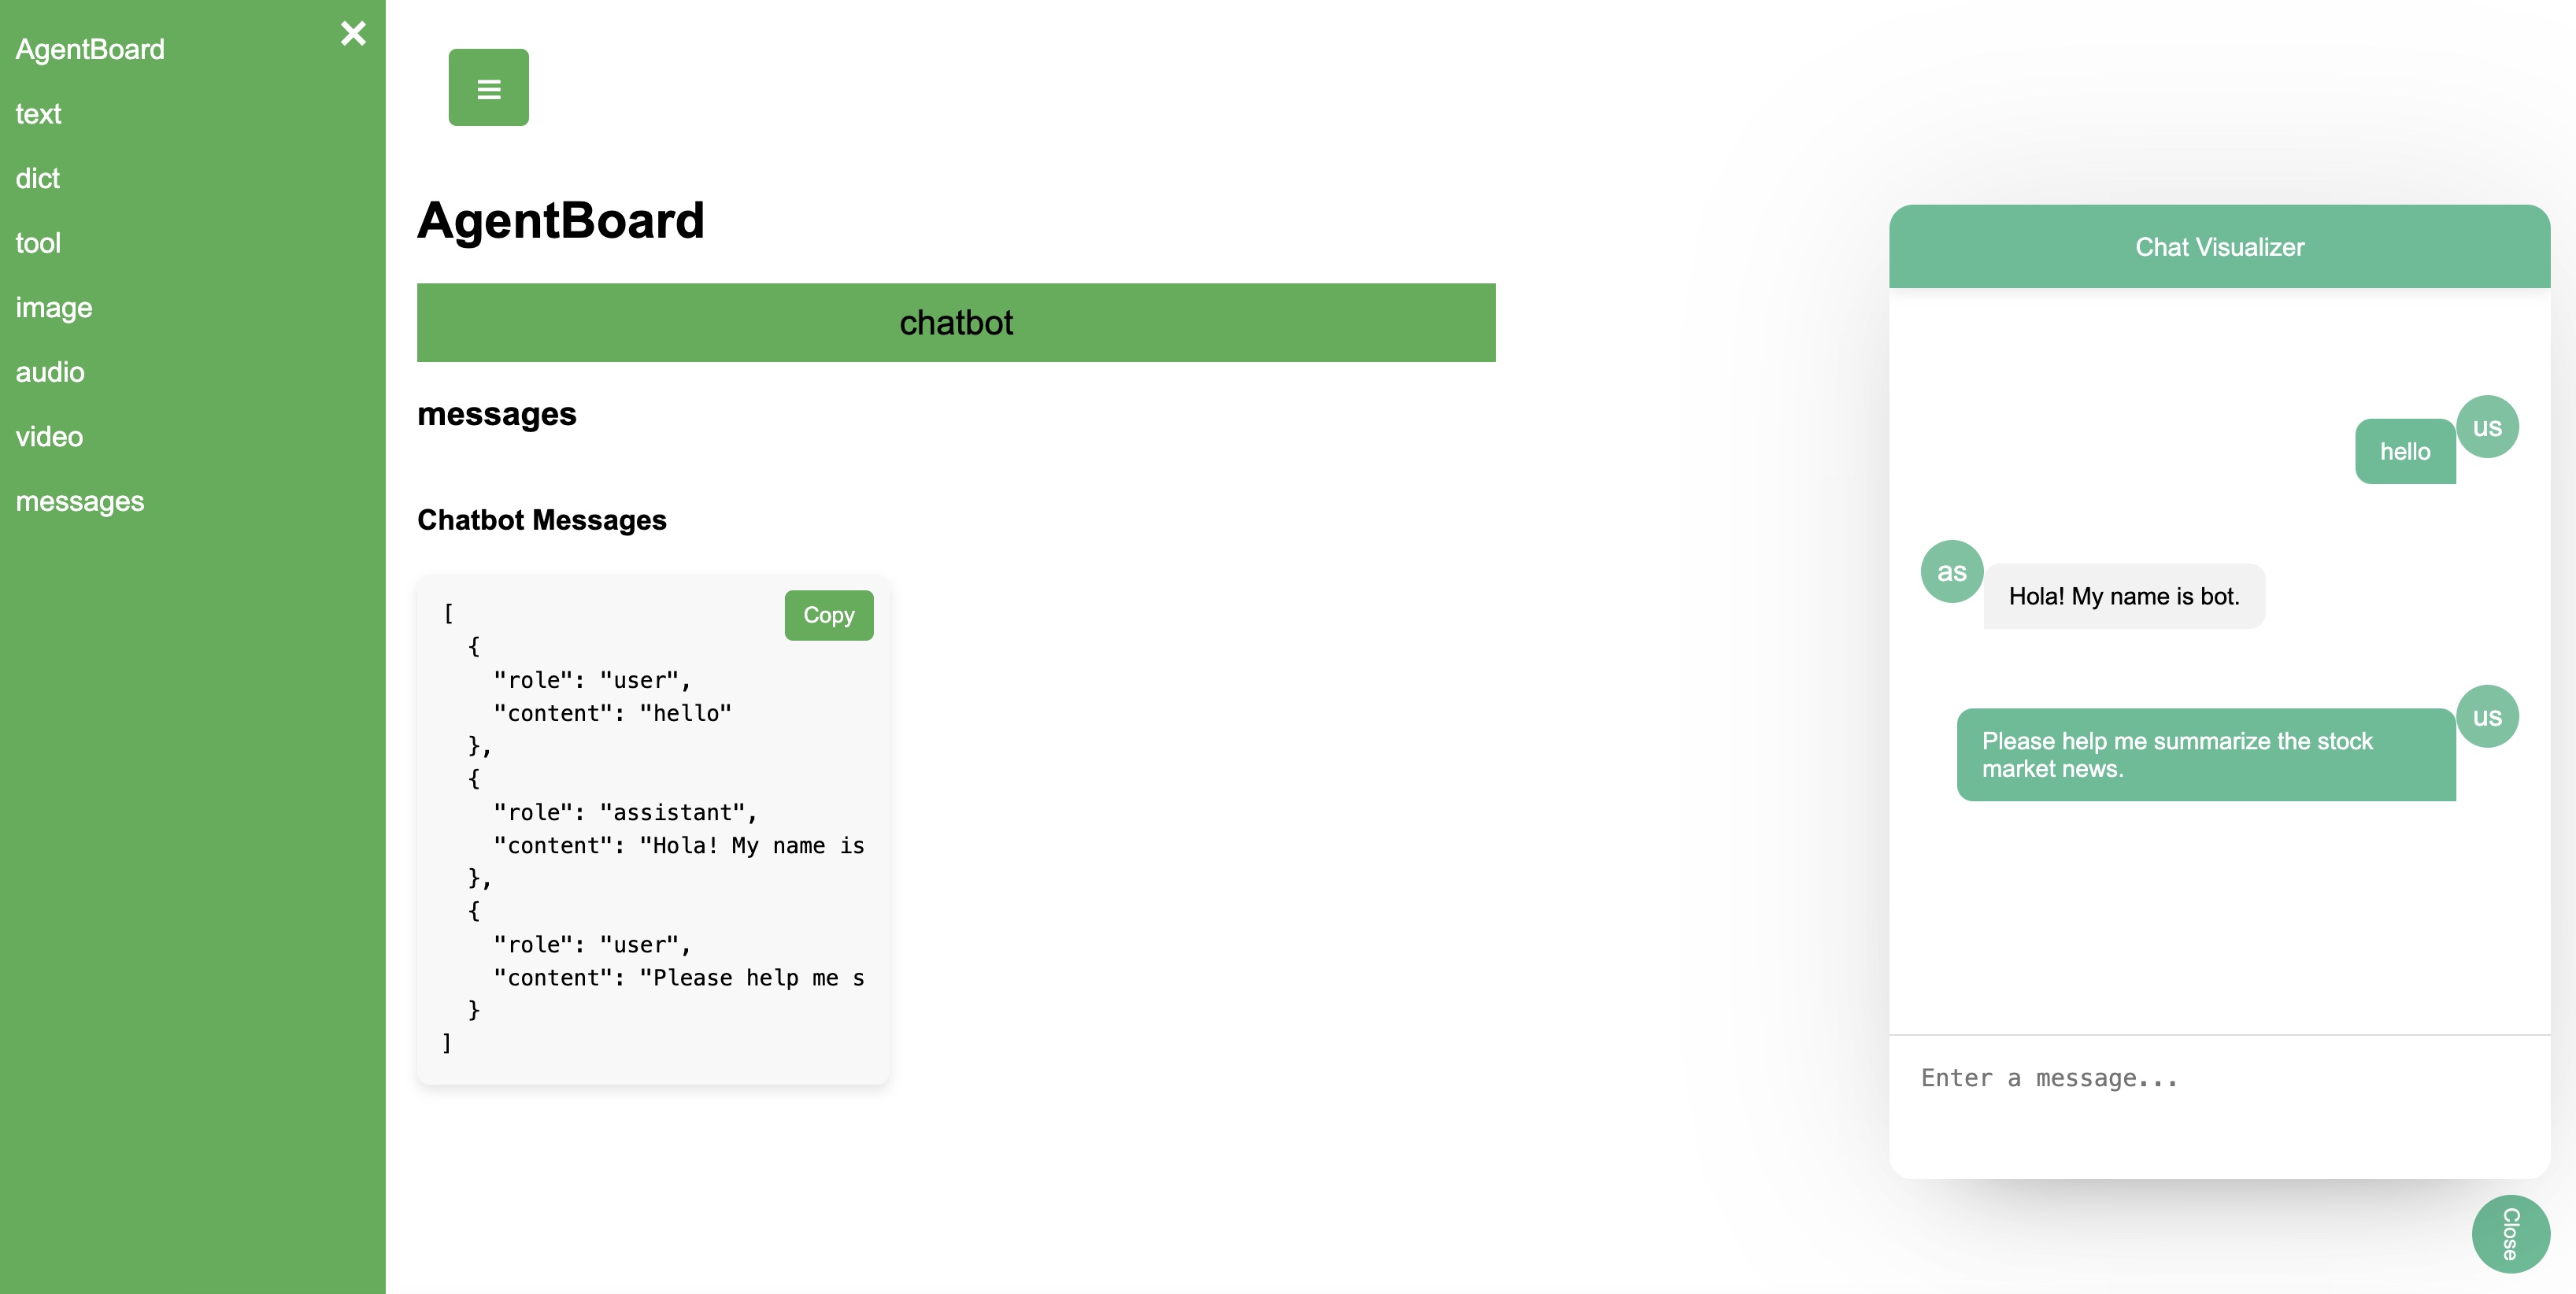
Most of the messages are stored in a list of dict json format. Each round of chat have two keys: "role" and "content".
        chat_messages = [
        	{"role":"user", "content": "hello"},
        	{"role":"assistant", "content": "Hola! My name is bot."},
        	{"role":"user", "content": "Please help me summarize the stock market news."}
        ]
And each time ChatGPT responded a message, we can append the message to the list and display the history using agentboard as
    with ab.summary.FileWriter(logdir="./log", static="./static") as writer:
    	## ChatGPT API Calling code omitted

        chat_messages = [{"role":"user", "content": "hello"}, {"role":"assistant", "content": "Hola! My name is bot."}, {"role":"user", "content": "Please help me summarize the stock market news."}]
    	ab.summary.messages(name="Chatbot Messages", data=chat_messages, agent_name="chatbot", process_id="chat")
Visit below URL and see the Chat Visualizer of Messages
http://127.0.0.1:5000/log/messagesYou can click the chatbot button on the right bottom
4. Tools Use Function Calls Visualization
Let's use a bing search function as as tool and visualize the tools on agentboard. We are also omitting the tools calling ChatGPT API code for simplicity. The function have two parameters "keyword" as str type and "limit" as int type. And
	import agentboard as ab
	from agentboard.utils import function_to_schema

    def calling_bing_tools(keyword:str, limit:int) -> str:
        url="https://www.bing.com/search?q=%s&limit=%d" % (keyword, limit)
        return url

    with ab.summary.FileWriter(logdir="./log", static="./static") as writer:

        tools = [calling_bing_tools]
        tools_map = {tool.__name__:tool for tool in tools}
        tools_schema = [function_to_schema(tool) for tool in tools]

    	## Calling ChatGPT Tool Usage code omitted
    	# Omitted
    	# arguments = json.loads(tool_call['function']['arguments'])

    	arguments = {"keyword": "agentboard document", "limit": 10}


        ab.summary.tool(name="Act RAG Tool Bing", data=[calling_bing_tools], agent_name="agent 2", process_id="ACT")
        ab.summary.dict(name="Act RAG Argument Input", data=[arguments], agent_name="agent 2", process_id="ACT")
Visit below URL and see tool
http://127.0.0.1:5000/log/tool